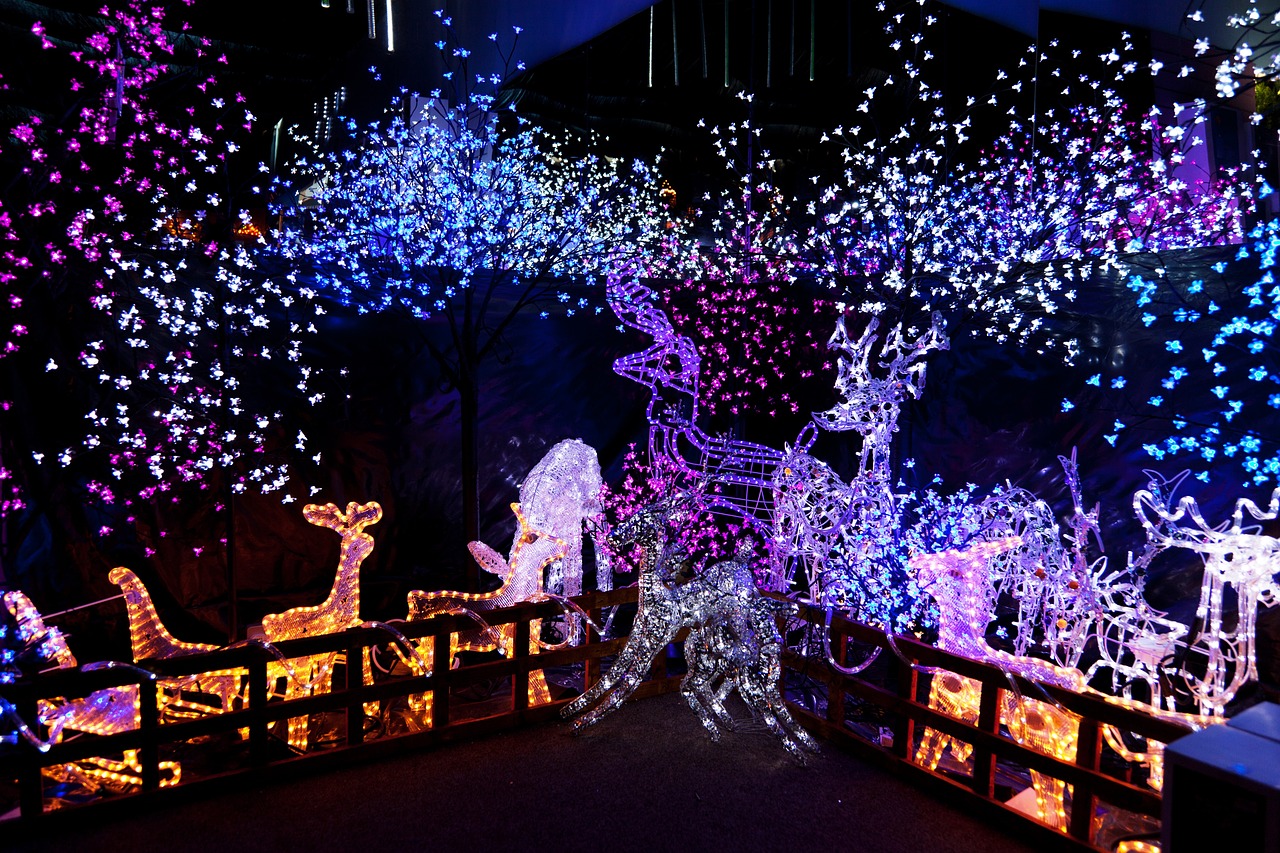
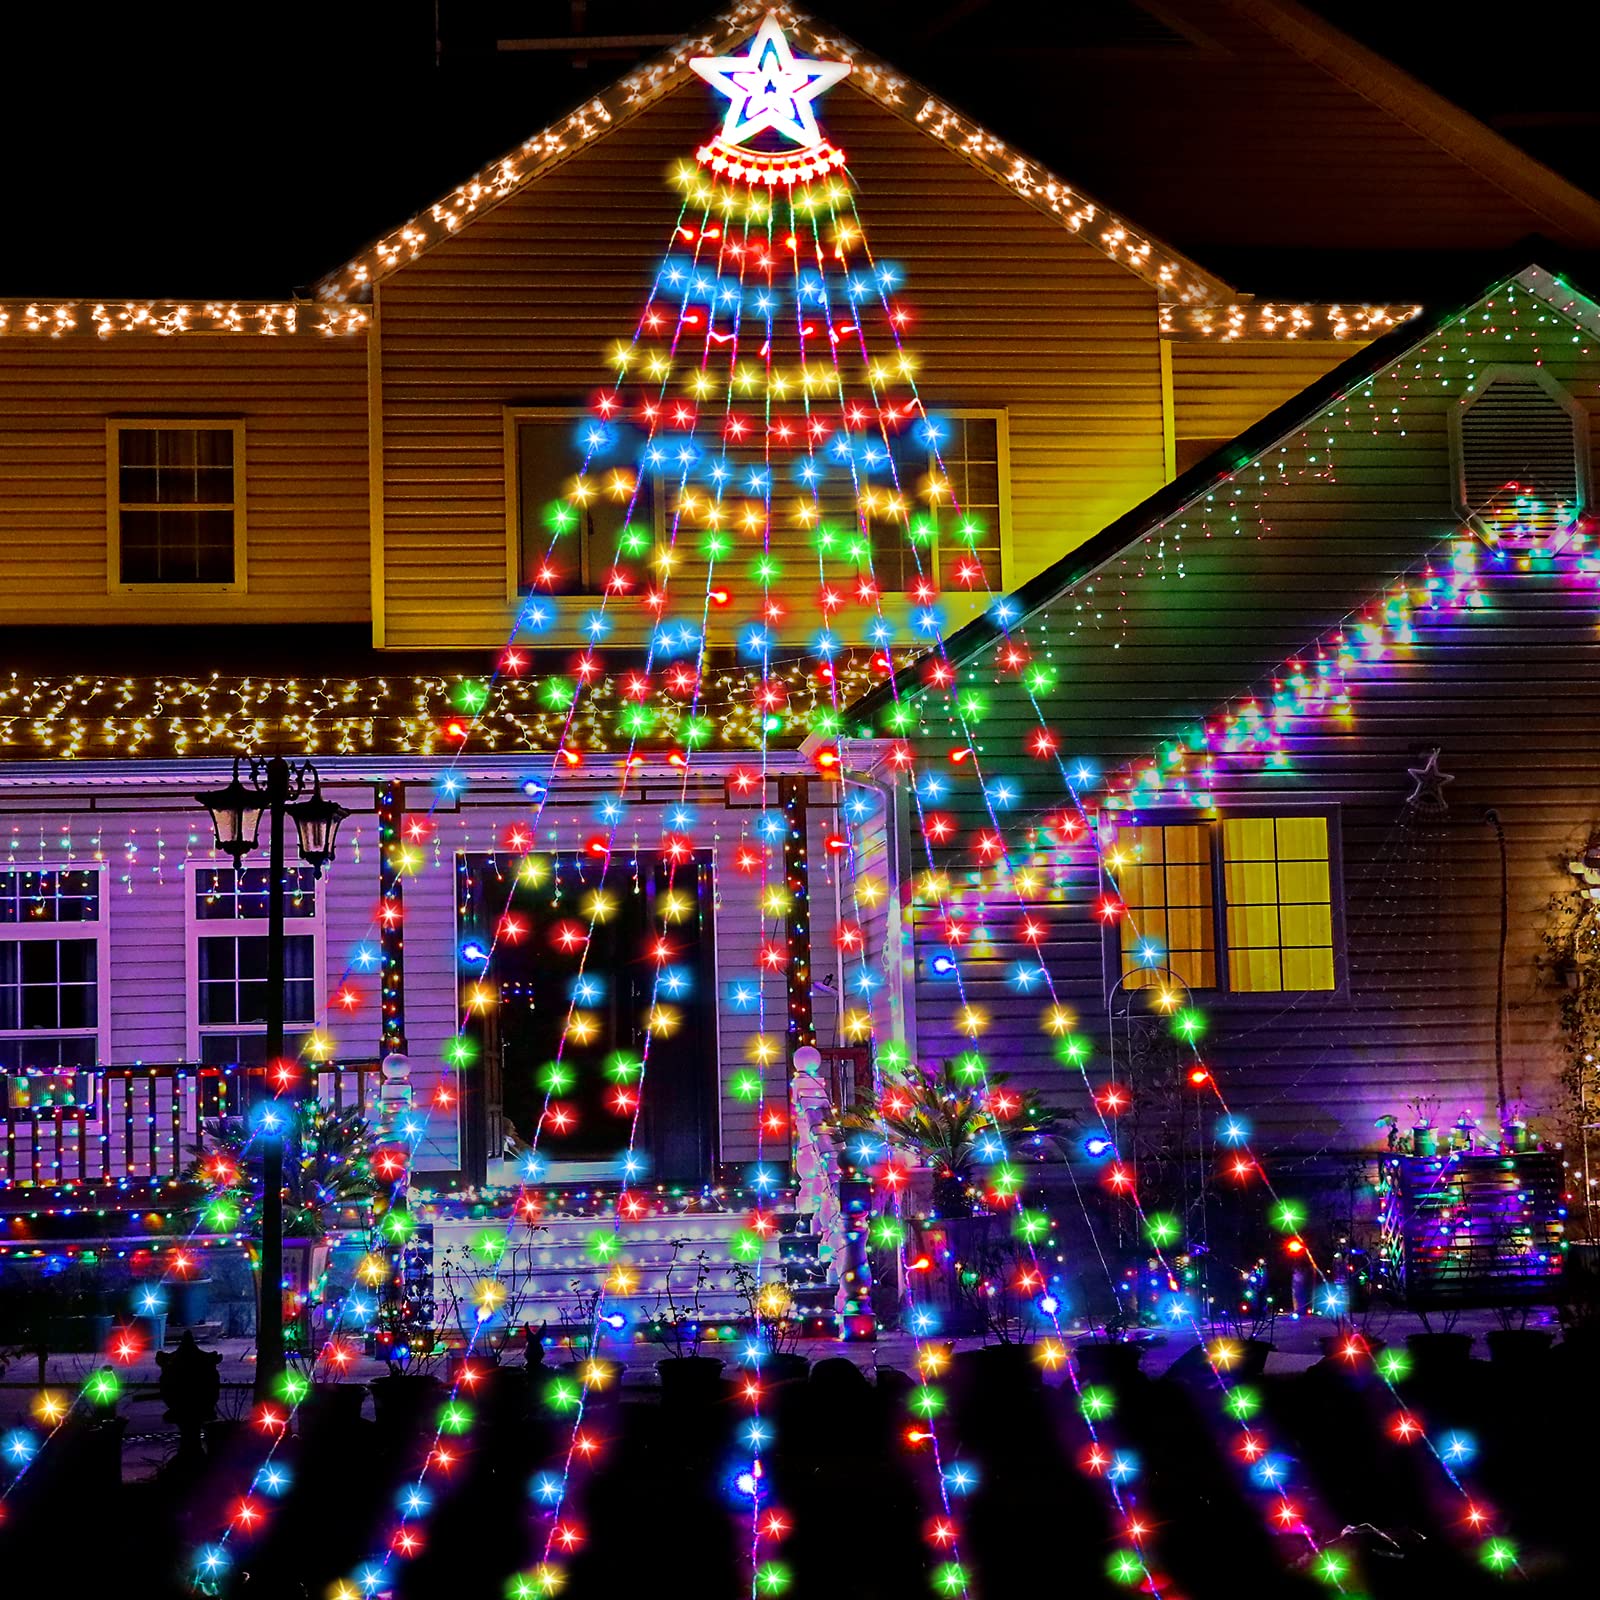
In this article, you’ll discover a simple and effective method to ensure that your outdoor Christmas decorations stay beautiful and intact, even in the face of unpredictable weather. With the holiday season right around the corner, it’s important to know the best way to protect your outdoor decor. By following these easy steps, you’ll learn how to waterproof your decorations, allowing you to enjoy your festive displays all season long. From twinkling lights to cheerful reindeer, you’ll have peace of mind knowing that your outdoor Christmas decorations are well-prepared for whatever Mother Nature throws their way.

Materials Needed
To waterproof your outdoor Christmas decorations, you will need the following materials:
- Plastic drop cloths: These will help protect the surrounding area while you work on your decorations.
- Waterproof sealant: A sealant specifically designed for outdoor use will provide the necessary protection against moisture.
- Paintbrush: You’ll need this to apply the sealant.
- Heat shrink tubing: This is a great option for protecting electronic components from water damage.
- Electrical tape: Another option for waterproofing electronic components.
- Clear varnish: This will add an extra layer of protection to your decorations.
- Gloves: It’s always a good idea to wear gloves to protect your hands while working with sealant and other chemicals.
- Safety goggles: Protect your eyes from any potential hazards while working on your outdoor decorations.
Step 1: Preparing the Decorations
Before you start waterproofing your outdoor Christmas decorations, it’s important to prepare them properly. This will ensure that you achieve the best results and maximize the lifespan of your decorations.
- Remove any electronic components: If your decorations contain any electronic components, such as lights or motors, it’s important to remove them before waterproofing. This will prevent any damage to the electronics during the waterproofing process.
- Clean the decorations: Before applying any waterproofing materials, clean your decorations thoroughly. This will remove any dirt or debris that could interfere with the effectiveness of the waterproofing sealant.
- Dry the decorations: Make sure your decorations are completely dry before moving on to the next step. Moisture can interfere with the adhesion of the waterproofing materials, so take the time to let your decorations air dry if needed.
Step 2: Waterproofing Electronic Components
If your outdoor Christmas decorations include electronic components, it’s crucial to protect them from water damage. Here are three methods you can use:
- Using heat shrink tubing: Heat shrink tubing is an excellent option for sealing and protecting electrical connections. Simply slide the tubing over the connection and use a heat gun to shrink it tightly around the wires. This creates a waterproof barrier that will keep your electronics safe.
- Applying electrical tape: Another option is to wrap the electrical connections in waterproof electrical tape. Be sure to wrap the tape tightly, overlapping each layer slightly for added protection.
- Using waterproof sealant: For larger electronic components or areas that cannot be effectively sealed with heat shrink tubing or electrical tape, you can use a waterproof sealant. Apply the sealant carefully, following the manufacturer’s instructions, to create a watertight barrier around the electronics.
Step 3: Apply Waterproof Sealant
Once you’ve taken care of the electronic components, it’s time to apply a waterproof sealant to your decorations.
- Choosing the right type of sealant: Look for a sealant specifically designed for outdoor use. Consider factors such as durability, flexibility, and resistance to UV rays. Make sure the sealant is compatible with the materials of your decorations.
- Applying sealant to vulnerable areas: Pay special attention to areas that are more prone to water damage, such as seams, joints, and edges. Use a paintbrush to carefully apply the sealant, making sure to coat the area thoroughly.
- Drying and reapplying sealant: Allow the sealant to dry according to the manufacturer’s instructions. In some cases, you may need to apply multiple coats for maximum protection. Make sure each coat is fully dry before applying the next.

Step 4: Use Clear Varnish
In addition to the waterproof sealant, applying a clear varnish will provide an extra layer of protection for your decorations.
- Preparing the area: Lay down plastic drop cloths to protect the surrounding area from any potential spills or drips. Make sure you have proper ventilation in the area where you’ll be working.
- Applying clear varnish: Use a clean paintbrush to apply a thin, even coat of clear varnish to your decorations. Pay attention to all surfaces, including any intricate details or crevices.
- Drying and reapplying varnish: Allow the varnish to dry completely, following the manufacturer’s instructions. If desired, apply additional coats for added protection. Make sure each coat is fully dry before applying the next.
Step 5: Protecting Outdoor Outlets
Outdoor outlets can be particularly vulnerable to moisture, so it’s important to protect them from water damage.
- Using outdoor outlet covers: Install waterproof covers over your outdoor outlets. These covers are designed to keep moisture out while allowing you to still utilize the outlets.
- Applying waterproof tape: Wrap the electrical connections of your outdoor outlets with waterproof electrical tape. This will help create a watertight seal and provide an extra layer of protection.
- Building a protective barrier: If your outdoor outlets are located in a low-lying area that is prone to flooding or excessive moisture, consider building a protective barrier using materials such as bricks or stones. This will help keep water away from the outlets and prevent damage.

Step 6: Secure Connections
Properly securing the connections of your outdoor Christmas decorations is essential for waterproofing.
- Using waterproof connectors: When connecting electrical components, use waterproof connectors. These connectors are specifically designed to create a secure, waterproof seal.
- Applying electrical tape: After connecting the components, wrap the connections with waterproof electrical tape. This will provide an additional layer of protection.
- Using silicone sealant: For ultimate protection, apply a small amount of silicone sealant around the connections. This will create a watertight and durable bond.
Step 7: Maintenance and Storage
To ensure the longevity of your waterproofed outdoor Christmas decorations, it’s important to perform regular maintenance and take proper storage measures.
- Inspecting and repairing decorations: Regularly inspect your decorations for any signs of damage or wear. Repair any areas that may have been compromised, such as peeling sealant or cracked varnish.
- Applying fresh waterproofing: Over time, the waterproofing materials may wear off or become less effective. Reapply waterproof sealant and clear varnish as needed to maintain optimal protection.
- Proper storage for durability: When the holiday season is over, store your decorations in a dry, cool place. Avoid exposing them to extreme temperatures or prolonged sunlight, as this can deteriorate the waterproofing and cause damage.

Safety Tips
As you work on waterproofing your outdoor Christmas decorations, keep these safety tips in mind:
- Wearing gloves: Protect your hands from the chemicals and sealants by wearing gloves. This will also help prevent any potential skin irritations or reactions.
- Using safety goggles: Ensure your eyes are protected from any splashes or fumes by wearing safety goggles.
- Working in a well-ventilated area: When applying sealants or varnishes, make sure you are in a well-ventilated area. This will help minimize exposure to any potentially harmful fumes.
Conclusion
With the right materials and proper techniques, waterproofing your outdoor Christmas decorations can be a straightforward and effective process. By following the steps outlined in this article, you can protect your decorations from the elements and ensure they will last for many holiday seasons to come. Remember to always prioritize safety and perform regular maintenance to keep your decorations looking great year after year.